Saturday, June 30, 2012

Food Challenge: (Oven Baked) Garlic Fries

Awhile back my sister asked me to come up with a recipe for garlic fries. I had already been thinking about making garlic fries, but since she asked me to, I'm calling this one a food challenge! I don't know if my sister wanted regular deep fried fries or not, but I decided to use the oven for this recipe. I did this for a couple of reasons, it's healthier, it's easier, and you can better incorporate flavors. Oven fries do not have the exact same texture as regular fries, but try these, and you might not care.

Ingredients:
5 medium (russet) potatoes
1/2 cup olive oil
3 cloves garlic (minced)
2 tsp salt
1 tsp parsley
1 tsp pepper

The first thing you are going to want to do is cut up your potatoes. We want them to be pretty uniform, so don't just take a knife at them all willy-nilly. The pictures are going to explain a lot, so take a good look as them. Slice your potatoes in half lengthwise.


Then make lengthwise slice on each half, that are about 1/2 in thick.


Take each slice, flip it on it's side and slice it in half.


After you slice all the potatoes this way, you should have a pile that looks a lot like this:


Place your potato slices in a bowl, and set aside. Mix the rest of the ingredients together, and pour over the potato slices. Toss it all together, making sure your coat the potatoes pretty well.


Spray a baking sheet with non stick spray and arrange the potatoes in a single layer. Pour any excess oil mixture over the top of the potatoes.


Place the potatoes in an oven preheated to 425 degrees. Bake for 20 min, flip the potatoes over, as best you can, it is a bit tricky, and bake another 20 min. At this point crank the oven up to 450 degrees and bake an additional 3-5 minutes or until the fries start to gain a little color. Do not cook the fries until they golden brown, at that point, they will be as hard as rocks.


Scoop your fries up, leaving any extra oil behind, and place on a plate. They are now ready to enjoy!

The texture, like I said, is a bit different than deep fried fries, but seriously, the flavor on these things is so stellar, you aren't going to miss it.

Pin It!

Chocolate Banana Brownies

I am not a vegan, as you can probably tell from the recipes I have posted, and frankly, the thought of making vegan food scares me. I do, however, have a good friend who is a vegan, and has been encouraging for quite some time to make an all vegan recipe. I decided to get out of my comfort zone and try my hand at it. It wasn't as scary as I thought (thanks to internet tips) and I was able to come up with this recipe.

Ingredients:
2 bananas
1/4 cup mashed avocado
1/4 cup olive oil
3/4 cup flour
1 cup whole wheat flour
1/2 cup water
1/2 cup cocoa
1 1/2 cups sugar
1 tsp salt
1 tsp vanilla
1 tsp baking powder

The first thing you are going to want to do is smoosh up your bananas (Or preheat the oven to 350, you could do that first instead). I just put my bananas in a bowl and smooshed them with a fork.

Blurry mashed bananas.
After the bananas are smooshed, the procedure is pretty easy, that's one of the great things about brownies, you can just dump and mix. Dump the bananas, and the rest of the ingredients into a bowl and mix until everything is well combined. Once the batter is mixed, place in a well greased pan, mine was 9x13.


Ready to bake.
Cook the brownies at 350 for about 30 min. If you stick a toothpick in them, it should come out clean.


Ready to eat!
I enjoyed my brownies with a glass of milk, which is pretty ironic considering these are vegan, oh well. Overall, I was happy with the results. Don't go into this thinking they are going to be the same consistency as a regular brownie, because they aren't. That doesn't mean they don't taste good, because they do, it's just going to be a different texture than you are likely used to.

I really should have taken more picture of this one, sometimes I get distracted, like by adorable babies who take pans out of cupboards so they can sit in them

Cute baby distraction.
I know the word vegan can be scary for people, that's why I didn't put it in the title. Just think of these as chocolate banana brownies instead of vegan brownies and maybe you will be a little more inclined to try them out.


Pin It!

Recipe Renovations: Multi-Grain Cinnamon Rolls

In case you weren't aware, Daniel works the graveyard shift. When his birthday rolled around, I wanted to make him something nice for breakfast, but he worked the night before. I wasn't exactly willing to wake up super early and make him something; I'm not a morning person, remember? Instead I decided to have something waiting for him when he got home from work, and cinnamon rolls seemed like a perfect fit. Being the person I am, however, meant that I couldn't just find a cinnamon roll recipe and make it; I instead opted to tweak this recipe into an awesome new creation.

Ingredients for the roll base are the same, except for the addition of 1/2 cup sugar. We will also need ingredients for the cinnamon filling, and frosting. Your new ingredient list should look a bit like this:
4 tsp yeast
3 TBS sugar
3/4 cup warm water
1 cup sweet potato puree
3/4 warm milk
1 egg (slightly beaten)
1/4 cup butter (melted)
1/4 cup vegetable oil
2 cups all purpose flour
2 cups whole wheat flour
2 cups oat flour
1 tsp salt
1/2 cup sugar

Cinnamon Filling:
1/2 cup butter
1 cup brown sugar
2 tsp cinnamon

Frosting:
1/4 cup butter (softened)
1/4 cup sour cream
3 cups powdered sugar
1 tsp vanilla
1-2 TBS milk

Our dough procedure is going to start out the same as the original recipe. Preheat your over to 350. (You actually have a bit of time until cooking, and really don't need to preheat yet, but I like to have my bases covered). Foam up your yeast in the water, with the first amount (3 TBS) of sugar. I guess the 'real' term for this is proofing, but that just sounds boring. Once your yeast is nice and frothy, combine it and the rest of the wet ingredients. Add the second amount of sugar and the salt to the wet ingredients, then proceed to add the flours, 1 cup at a time, stirring until no longer able, then kneading the rest in. This should all seem very familiar, if you need more detailed instructions, read the original recipe.

After you have kneaded the ball into a nice soft dough, place it in a warm place and let the magic happen. Once the dough is double it's size, it's time to roll out. We rolled the dough out last time, but this is going to be slightly different. We still want to make a large oval, but since we want plenty of cinnamon awesomeness in each roll, we want the dough pretty thin. Roll your oval to about 1/4 inch thick.

Rolled out dough.
After you have rolled the dough out, you need to prepare the cinnamon swirl goodness. Melt the butter and stir in the rest of the ingredients until well combined. Evenly spread the cinnamon mixture on the rolled out dough, leaving a small border on one of the long sides.

Spread cinnamon mixture.
It is now time to get rolling! The small edge of un-cinnamon-a-fied dough you left is going to help seal the rolls together, so start rolling from the opposite end of that. This means you will be rolling from a long end, not a short one. Once you have a nice long tube, gently press the edge into the roll to seal it up. Make sense?

Cinnamon roll 'tube'.
At this point, we are going to cut our tube into rolls, you can do this one of two ways, with a knife, or with (unflavored) dental floss. I would normally use a knife, just because I am more accurate that way, but since I was cooking on my mother-in-laws pretty granite counter-tops, I chose the latter option. Either way, you are going to want your rolls about 1 inch thick. Place the cut rolls on greased cookie sheets and again set them in a warm place to rise.

Cut and ready to rise.
One the rolls have risen until not quite double, it's time to bake. Place them in your preheated oven for 25-30 min, and go take a jog, (that's what I did), that way when the time is up and a slight brownness starts to appear, so won't feel bad that you are about to eat them.

Prior to baking.

After baking.
Once you have taken your rolls out of the oven, it's time to think about frosting. Granted you could have very easily thought about frosting before now, but hey, go with me here. I know the traditional/logical choice of frosting here would be cream cheese. Cream cheese pairs nice with cinnamon rolls, I know, but I encourage you to expand your horizons and give my sour cream frosting a try. Taste wise, this frosting is a lot like a traditional buttercream. Texture wise, it is closer to a cream cheese frosting. There is nothing 'sour' about it, the powdered sugar kicks that right out of it. It does have a nice creaminess that the sour cream lends to it, plus it has less fat than using butter alone. I probably wouldn't frost a cake with this frosting, it doesn't have the consistency for the that; it has the consistency to sit beautifully atop a cinnamon roll.  Have I convinced you yet? Hope so, because we are going to make it now.


Blend together the butter and the sour cream until nice and smooth. Slowly add the powdered sugar until well combined. Add the vanilla and one tablespoon of milk, beat until you reach a nice spreading consistency, adding more milk if needed.


Prepared frosting.
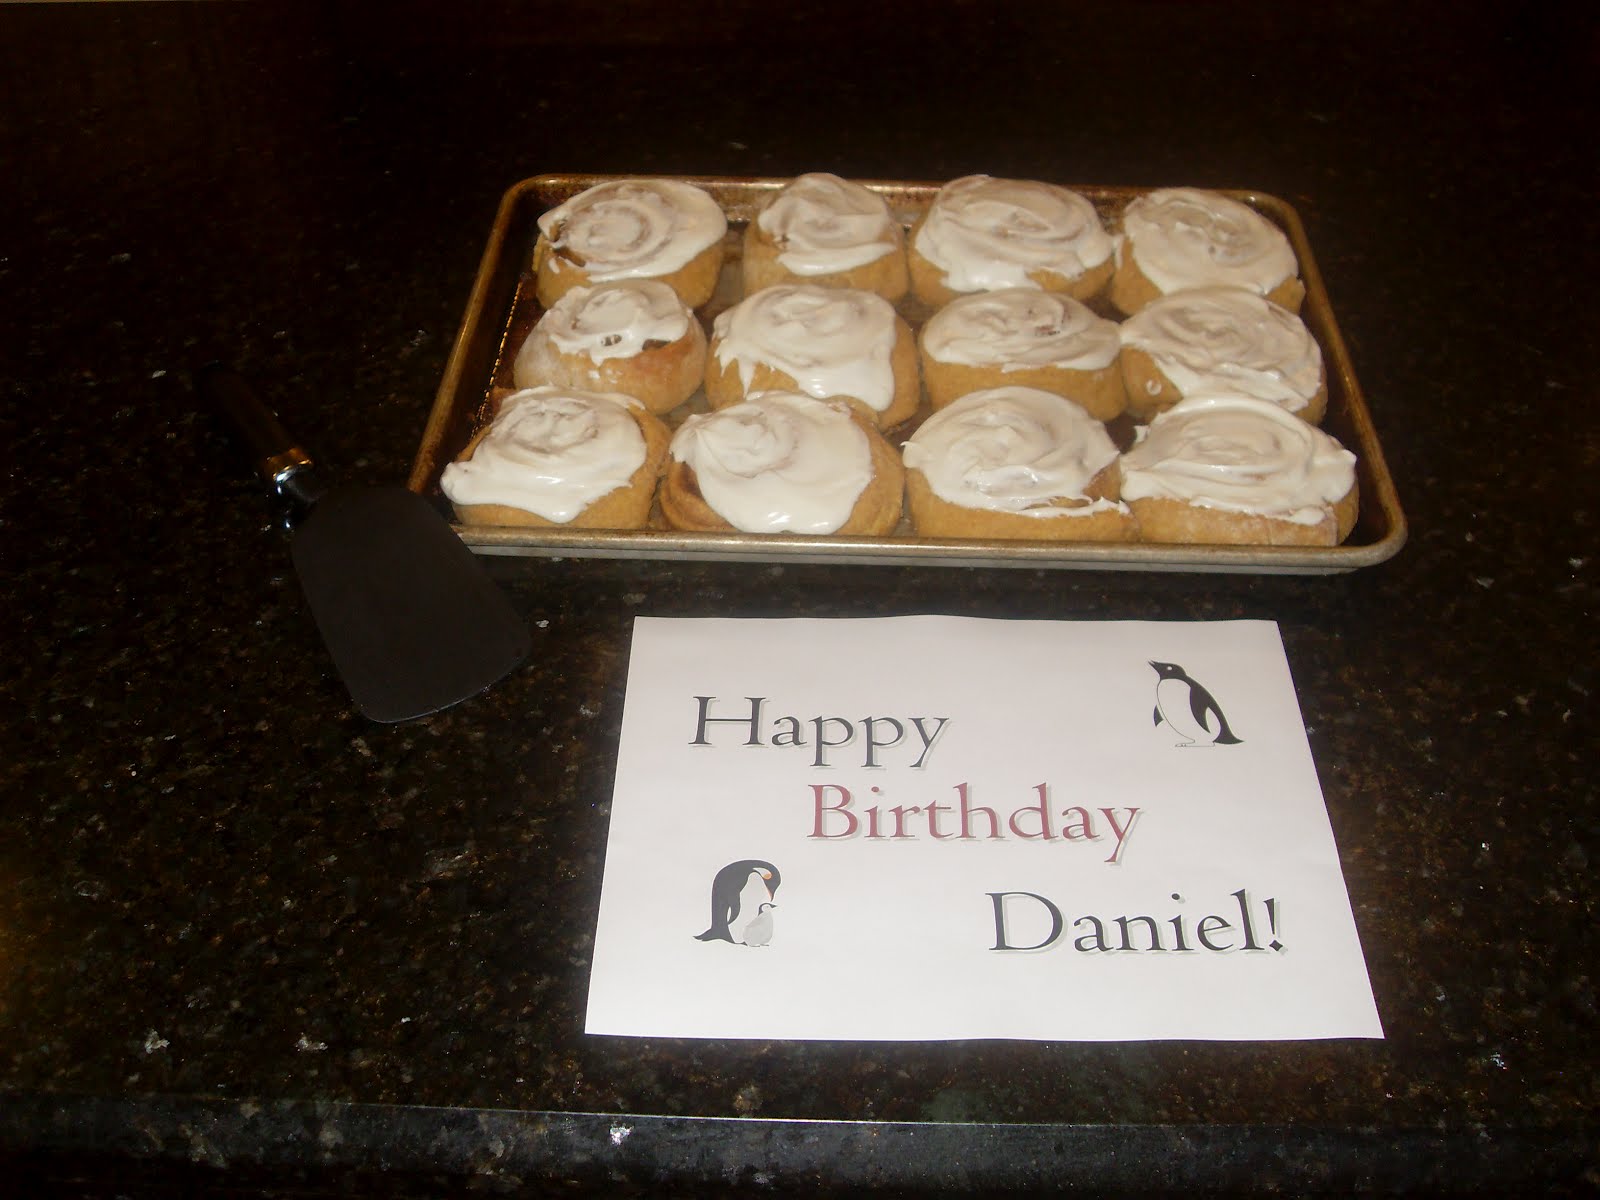
Spread the frosting generously on your cinnamon rolls.


Set the cinnamon rolls out for your husband's birthday.


Or just eat one yourself.


This recipe is going to make 2 dozen cinnamon rolls, but you may not want that many. I only wanted 1 dozen rolls, so here is what I did. I made the full recipe and froze half of it. To do this, you are going to want to freeze before the second rise, so right after you cut the rolls into shape. Still place them on a cookie sheet, but stick them in the freezer instead of a warm place. You freeze them this way, so that they keep their shape. Once they are mostly frozen, you can transfer them to a large freezer bag to store them. As far as frosting goes, the recipe will frost the 2 dozen rolls, so if you are freezing half of them, you might be tempted to only make half the frosting, don't do it! Make all of the frosting, frost the rolls you made, then scoop the remaining frosting into a plastic bag, place inside the larger bag with the cinnamon rolls and freeze.

Freezer ready.
.When you are ready to bake the frozen rolls, simply pull them out of the freezer, place on a greased cookie and let rise until almost double. This could take a couple hours since they are now frozen. Bake the same as before and frost with your thawed frosting. A little work now, can make easy-peasy cinnamon rolls in the future.

I hope you enjoy this recipe. I think they are fantastic cinnamon rolls, but I also think that you should make them and judge for yourself!

Pin It!

Tuesday, June 5, 2012

Peanut Butter French Toast

I am a huge fan of breakfast food, and I'm not talking about cereal here, people. There are only about three cereals I will actually eat.  Pancakes, waffles, bacon, french toast, sausage, and crepes, are all awesome in my book. The problem is that I tend to not really be a morning person. Okay, let's rephrase that. I'm really, really not a morning person. Because of this fact, my breakfast food love is often ignored, and I eat toast or one of those three acceptable cereals in morning. Every once in a awhile, I decide to satisfy my breakfast food cravings with breakfast for dinner. My most recent breakfast for dinner creation was this french toast.

Ingredients:

For the French Toast:
10-12 slices of the bread of your choice
3 large eggs
1 container (5.3 oz) plain nonfat greek yogurt (vanilla could also be used if you want added sweetness)
1/3 cup peanut butter

For the Peanut Butter "Syrup":
1/3 cup peanut butter
1/3 cup milk
1/3 cup brown sugar
2/3 cup powdered sugar

Take the eggs, yogurt, and 1/3 cup of peanut butter...

An ingredient picture! That's a first.
...and blend them together in a blender (crack the eggs first..I hope I really don't have to remind people of that).
Blending.
Pour your mixture into a semi-flat bowl and prepare to make your french toast. This mixture is going to be thicker than your average french toast coating, so if it seems thick, don't be too alarmed. I should, however, note that I used natural peanut butter, and it tends to be a bit thinner than the original stuff when at room temperature. If you use regular peanut butter, you might want to add a tablespoon or two of milk to your mix.
Ready to dip
To create your french toast, heat a skillet to a little over medium heat (not quite medium high), and spray with cooking spray. Dip both sides of a piece of bread into your egg mixture. Since the mixture is so thick, you are are going to want to scrap some of the excess goop off of the bread.
Scraping off the excess egg mixture.
Place your coated bread into your heated skillet and cook about 1 minute per side. The bread will seem like it is going to stick pretty bad, but once it cooks enough, it will come off pretty easily. Look for golden brown sections before flipping, if you have a few of them, it's flip time.
Cooking in the skillet.
A little warning, this process can get a bit messy, especially if you keep too much of the egg mixture on the bread. This will cause little crusts to form and fall off, so be careful.

Once your french toast is all prepared, it is time to make the syrup. Sure, you could serve with regular syrup, but you won't get the complete peanut butter experience. To make the syrup, combine all of the syrup ingredients in a small sauce pan. Heat over medium heat until the sugar granules have all dissolved and the mixture starts to get a little bubbly.
Prepared syrup.
Drizzle warm syrup over the french toast, sprinkle with powered sugar, if desired, and enjoy.
Ready to eat.
While we were eating, Daniel suggested another serving preparation. For Pb&J french toast, serve with a little bit of jam or jelly instead of(or in addition to)the peanut butter syrup.
Alternative way to eat.
I will be making this french toast again and again(or at least occasionally when I have breakfast for dinner), because I really thought it was delicious, and I hope you do too.

P.S. Did anyone notice that this was not made in my kitchen? The granite counter tops. The gas stove. The vast amounts of space. I wish it were mine, but we are just crashing at the in-laws while they cruise it up. Also, today is my birthday! Saturday is Daniel's birthday! Does this mean birthday treats are forthcoming? Yes, yes it does.

Pin It!

Friday, June 1, 2012

Recipe Renovations: Wheat Hamburger Buns

dI have been claiming that I was going to post this recipe for awhile now, but haven't got around to it. A contributing factor was likely the fact that I hadn't taken any pictures. I've been trying really hard to have pictures for my posts, so I kept delaying. Well, the wait is finally over, because I made buns, and took pictures this past week! Yay me!

To make buns, mix up my  Honey Whole Wheat Bread recipe omitting the oats in the dough. So, the ingredients would look like this:
2 1/2 tsp yeast
2 TBS brown sugar
1 1/3 cup warm water
1/4 cup honey
3 TBS butter (melted)
2 cups wheat flour
1 1/4 cup white flour
1 1/2 tsp salt

We are going to start out using the same procedure as the bread. Preheat your oven to 350 degrees; foam up your yeast, water, and sugar, add it and other wet ingredients to the dry ingredients, mix well and knead. Let the dough rise at least 30 min (until not quite doubled) and punch down. This is wear the recipe is going to start to vary a little from the bread. Place your dough unto a floured surface, and portion it into 8 equal parts (or near equal, I was going a little fast and my pieces weren't very even this time around).

At this point you need to decide "Do I want hamburger or hot dog buns?" I know the recipe says hamburger buns, but it's awesome and you can make either. Since there are only 2.5 eaters in my home, and I wouldn't need 8 of either type of bun, I made both.

To make hamburger buns, take a dough portion and pat it around in your hands, forming a cute flattened circle.
Forming a hamburger bun.
To make hot dog buns, roll the portion between your hands to elongate. I don't have a picture of that process, sorry.

Whichever type of bun you make. place them on a lightly greased cookie sheet. If you wish, you can use some of that oatmeal you omitted to dress up the buns,very slightly dampen the tops of the buns, and sprinkle some oatmeal on top. (I forgot to dampen, and the oatmeal didn't stay on very well).
Sprinkled with love.
Put your buns in a warm place (heh, buns in a warm place) and let them raise another 30 min or until almost doubled.Don't worry if they end up touching a little, they will come right apart.
Ready to bake.
Bake the buns in your pre-heated oven for 15-20 min or until nice and golden brown. Rub with a little butter if desried, and move to a cooling rack to cool.
Cooling.
I generally freeze half of the buns I make, they will last in the freezer for a little over a month. You can either slice into them once they are cooled, or wait until you are about to serve. While I did say that the elongated version is a hot dog bun, it can also be used as pretty stellar hoagie roll. My buns are usually a little more even (Ha, bun jokes are so easy, or maybe just plain cheesy...oh well), but even or not, they will still do the job. I did get a few of them to look pretty awesome though.
The pretty ones.
Since these buns have honey in them, they are a little bit sweet. If you don't want a tad of sweetness with your burger, just omit the honey.

Pin It!