Thursday, May 31, 2012

Frozen Summer Treats Using Pudding

This post is different than most, because it has two recipes instead of one. Both of them utilize pudding. I believe pudding is a very underrated food. It can lend flavor and moisture to baked goods, it can be used to make pie, and you can add Oreo dirt and gummy worms to make that adorable mud creation. Overall, I think pudding is useful, so I came up with two simple summer recipes using pudding. I'm sure it's been done before, but let's start out real easy: Pudding Pops.

Ingredients:
One large box pudding mix (made according to the box directions)

Yeah, it's one ingredient, but you will need some hardware.

Hardware:
3 oz paper cups
Popsicle sticks (these can be found in the craft section)

Spoon your pudding into the paper cups. Place a stick in each one, and freeze overnight, or until completely solid. Simple enough? Yeah, I thought so. You can use any flavor pudding you desire, you could even use vanilla, and dye it different colors, like red, white, and blue for the Forth of July. I have a giant tub of chocolate pudding mix, so that is what I used.

Frozen Pop.
When you are ready to serve, make a small cut in the paper cup, and then proceed to tear it off of the pudding pop. It is then ready for enjoyment!
Ready to Eat.
I know you are now all wondering "So, what happens if you give a 1-year-old a pudding pop?" Allow me to show you. It starts out okay.
Then it turns into a disaster.
It's a good thing I didn't actually make these for Juliet. I made them for my cousin-in-laws daughter, who had her tonsils out a few days ago. She is older than Juliet, and therefore shouldn't be as messy, I hope. Either way, let's hope they don't read this post until after I deliver the pops this afternoon.

Okay, moving on to the second recipe: Chocolate Pudding Ice Cream.

This recipe is also pretty simple, but it did actually take some reasoning skill to create.

Ingredients:
3 cups whole milk
1 1/2 cups whipping cream
1 cup sugar
1/4 cup cocoa
1/4 cup chocolate pudding mix
1 tsp vanilla extract
1/2 cup chocolate chips (optional)

In a large bowl, whisk all of the ingredients together. The cocoa and pudding mix are not going to want to mix in very well, just do the best you can. Transfer the mixture into your ice cream machine, and churn according to your machine. If you want to add the chocolate chips, do so about 20 min into mixing. Once your ice cream machine considerably slows, or stops churning altogether, you can do one of two things. Consume now for soft serve ice cream, or transfer to a freezer-safe bowl and freeze for at least four hours. This will give you a more traditional ice cream texture. If you plan on freezing, transfer the mixture and get it in the freezer right away, this will help to prevent too large of  ice crystals from forming, which is not very pleasant.


I actually doubled this recipe when I made my ice cream, and, in my machine, it went perfectly to the fill line. I ate ice cream both as soft serve, and as a traditional treat, but I only have picture of the traditional


Eating Ice Cream in my Jammies.
I hope you enjoy your summer pudding treats!

Pin It!

Saturday, May 26, 2012

I'm not a food slacker; I'm simply a blog slacker.

This blog hasn't had much going on for a few months now. That is pretty sad since I gave the blog a big renovation and everything. I just want to assure you that the fact that you haven't seen much, doesn't mean things haven't been going on. I'm not a food slacker. I have been making tons of cool foods. I'm simply a blog slacker. I just haven't posted for one reason or another. Well, that changes today! I have posted four new recipes just today. Four! So go ahead, scroll down, click the older posts button, look at the new recipes ( and maybe even some old ones), and make something new.

To prove that I'm not a food slacker. Here are some foods I have made, and taken pictures of, but do not have recipes for. I have, of course, made a lot more than just these things, but I don't always take pictures. See something that interests you? Let me know and I will develop a recipe for you! I do have a few things in works already, but that has never stopped me from taking on more food challenges.


The above pictures feature: whole BBQ chicken, garlic roasted vegetables, creamy chicken and rice soup, hasselback potatoes, cookies and cream cake, whole grain crust pizza, chicken noodle soup, waffle iron french toast, and a tray of dippings for cheese fondue (the fondue was the real star, but I don't have a picture of it).

Once again, let me know if there is anything you want a recipe for, either on this post, or concocted from your own mind. Read the new recipes, and come back soon because you have some things to look forward to, such as:

Garlic Fries
5 Dips, Sauces, and Dressings with 5 Ingredients or Less
Hamburger Buns

Pin It!

Toaster Pastries

I've been wanting to come up with my own recipe for Pop-Tarts for awhile now. Most recipes I found, just said "make or buy pie dough add filling and bake", oh gee that is so helpful, not. I'm actually going to give a pie dough recipe specifically designed for this application, plus give you filling suggestions, and frosting directions. Aren't I nice? Yeah, I know I am. I figure that the term "Pop-Tart" is probably has a copyright, so I simply call my creation toaster pastries.

Ingredients:
2 cups white flour
2 cups whole wheat flour
2/3 cup cold butter (cut into small pieces)
3/4 cup shortening
3/4 cup cold water (plus more if needed)
2 1/2 tsp salt
Filling & Frosting (suggestions and directions below)
Mix together the two flours and cut in the butter and the shortening until everything is well combined. Normally you would use a pastry cutter, but I don't have some, so I just attack it with a fork.

About to cut in the butter and shortening. 
The dough won't be very cohesive at this point, and that is where the water comes in. Mix in the water, a little at time, until the dough starts to stick together using more water if needed.
Some water added.
Smoosh the dough all together into a ball. Wrap the ball in plastic wrap and refrigerate it for at least one hour.
Wrapped dough ball.
I didn't mean for Juliet to be in the picture, but it's cute that it ended up like that. It helps to show how big of a ball of dough you will have, considering it's bigger than her head.

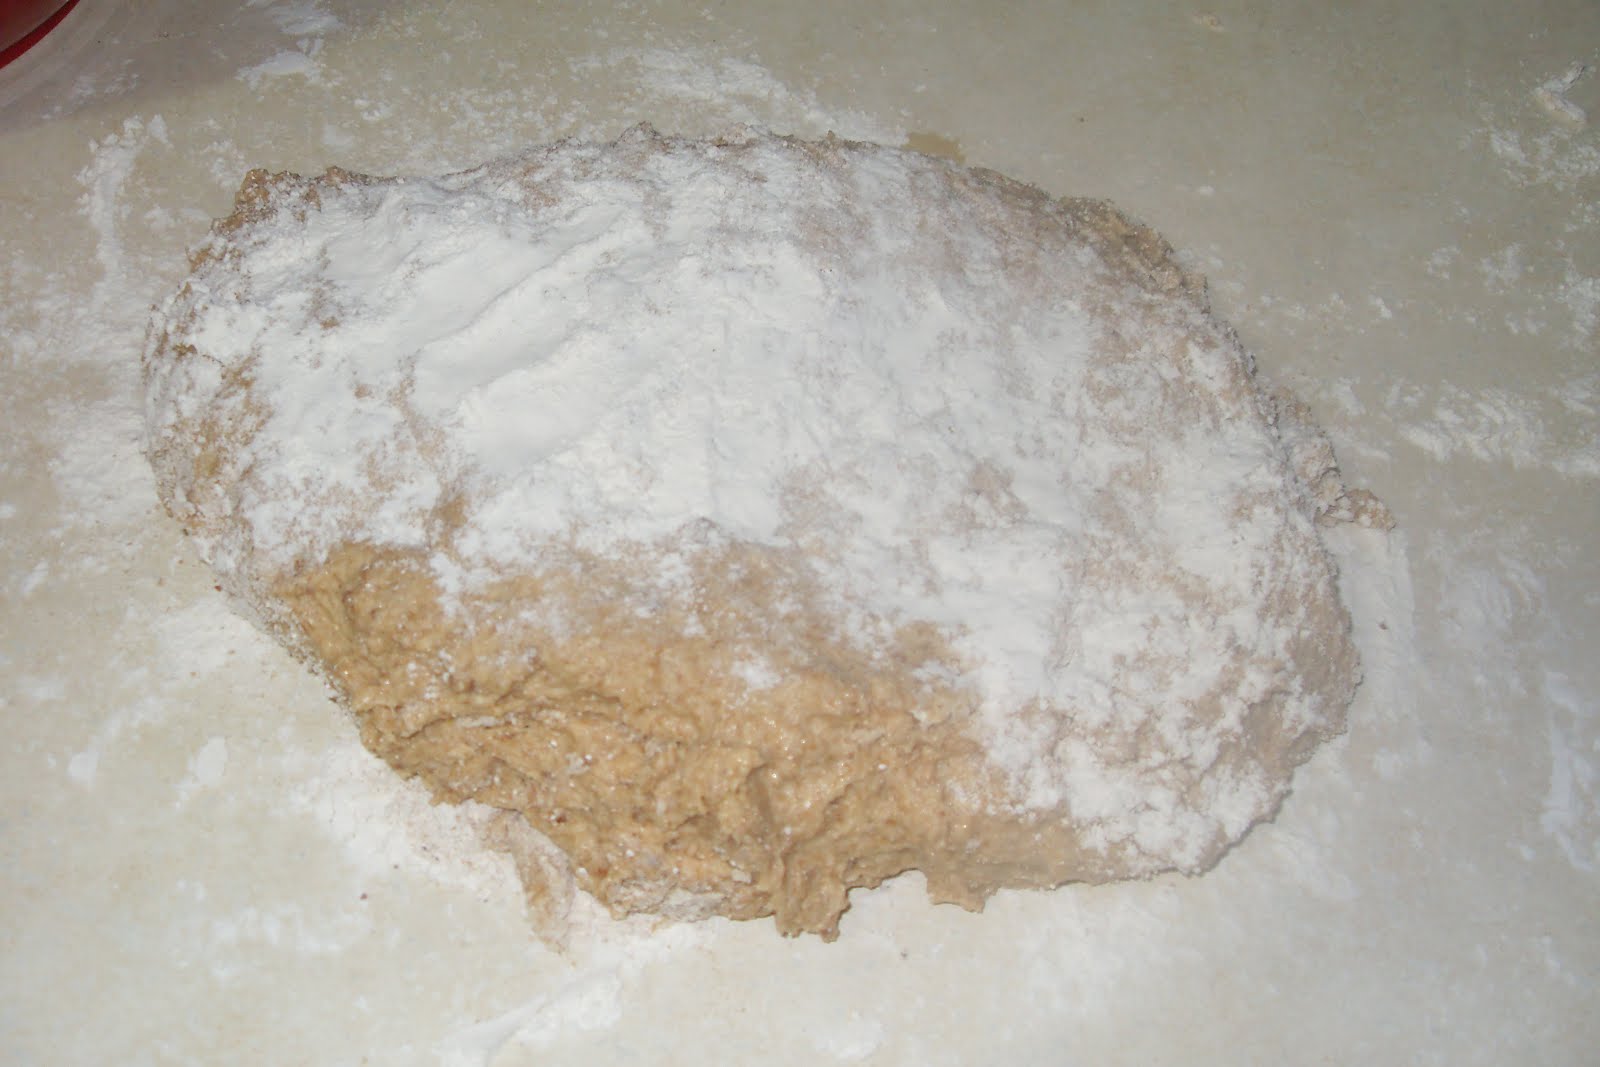
After the dough ball chills out for awhile, roll the dough out into a giant rectangle. You want to get the dough pretty thin, about 1/8 of an inch. You can either roll the whole ball out, or split it into two and roll out each half.  You are going to want to use a TON of flour when you are rolling it out, or it is going to stick, to the counter, and the rolling pin, so be careful. Cut the edges off to make an actual rectangle. Then cut that into small rectangles, they don't have to be perfect, just a good size to fit in a toaster.I suggest about 4x3 inches.

Ready to fill rectangles.
Now it is time to fill the pastries.  I have several suggestions for you.

Filling suggestions:
-Jam or Jelly
-Ganache-like chocolate filling
-Cherry syrup (Okay, most people don't have this, but my sister made some awhile ago, and gave me a jar, it made really awesome filling)
Brown sugar and cinnamon mixed with a butter.

I haven't tried the brown-sugar cinnamon filling yet, but I plan to next time I make my pastries. However, I did use all of the other suggestions. For the chocolate filling, I simply melted chocolate chips in a pan and added a few tablespoons of milk, whisking until smooth.

To fill your pastries, spoon on about 1 1/2 teaspoons of your chosen filling into the middle of one of your rectangles.

Spread the filling around, leaving a little room around the edges.
Take another dough square and place it on top, sealing the edges closed by making indentations around the outside, using a fork.
Look! Another action shot! I'm getting so good at remembering to take pictures that I have had two actions shots in my recent posts, I am so awesome! Place your pastries on a lightly greased cookie sheet and bake at 350 for 20 min.

At this point you have the option of frosting,  which I totally suggest. You aren't going to want a traditional frosting for these, more like a glaze. To create the glaze mix 1 cup powdered sugar, with 1 teaspoon vanilla and about 1 TBS milk. Mix them really well, so there are no powdered sugar lumps. You want it thin but not too liquid-y. Adjust measurements as you see fit to get to the consistency you wish. If you want a chocolate glaze, add 1/8-1/4 cup (depending on your chocolate tolerance) and 1 TBS more milk.

Spread your glaze on the cooled pastries, adding sprinkles if desired. Let the frosting dry before storing. When you are ready to eat, either serve at room temperature, or pop in your toaster to heat up. If they aren't going to be eaten fairly quickly, I suggest storing them in a zip top bag in the freezer.
Finished toaster pastries.
I ended up with 13 toaster pastries from this recipe. 5 chocolate, 5 cherry, and 3 apricot. Like I said, next time I plan on trying a brown sugar and cinnamon filling. I will probably add cinnamon to the glaze for that one. They are a pretty good replication, so I don't think I will be buying those name brand tarts anytime soon.

Pin It!

Butternut Squash Alfredo

I'm sure you have all noticed my squash obsession by now, and if you haven't, you have so not been following this blog closely enough. I took my squash obsession and put it together with something else I also love, Alfredo sauce. Normally, good Alfredo sauce has enough cream to give you a heart attack on the spot; it tastes that good for a reason people! The addition of squash allows me to lighten the sauce slightly, without kicking down the flavor. I realize it's not butternut squash season right now..just wait a few months before you make it, if that is a concern to you. Let's go!

Ingredients:
1 TBS butter
2 TBS flour
1 cup cooked butternut squash
1 1/2 cups skim milk
1 tsp salt
1 tsp pepper
2 gloves garlic (minced)
1/2-1 cup Parmesan cheese

Blend the butternut squash and milk in a blender, until smooth.


Before Blending
After Blending.
Melt the butter in a medium sauce pan, over medium heat, and stir in the flour.


Butter/Flour mixture.
Whisk the milk and squash into the butter and flour mix a little at a time until it is well combined.
Add the salt, pepper, garlic and Parmesan cheese to the mix. Do you see that next picture? It's an action shot!! I'm pretty excited about that.
Adding Parmesan Cheese.
Start by adding 1/2 cup of the Parmesan cheese, then taste the sauce. Add more if you want it to be more cheesy. I ended up with closer to 1 cup.

Let the sauce boil until it starts to get thick, then remove the pan from the heat.
Thickened Sauce.
You may then use this Alfredo sauce in place of regular Alfredo sauce in all your favorite applications.
Complete meal.
I kept it simple, just topping some whole wheat pasta with the sauce. It is pretty versatile though, so feel free to experiment. If you have leftover squash, you can add some chunks to the sauce. I have done that before, and it is pretty good.

Pin It!

Recipe Renovation: Peanut Butter Chocolate Bars

If you click the "older posts" button a few times, you will find a recipe for peanut butter chocolate chip cookies.  When I wanted peanut butter bars awhile back, and decided to transform that recipe into the peanut butter bars I craved. With just a few simple changes, the recipe turned out pretty great.

To turn your cookies into bars, double the original recipe , omitting the chocolate chips from the mixture, and adding 1 cups of quick oats to the dough.  Once you have done that, press the dough onto the bottom of a greased cookie sheet, and bake at 350 for 15 minutes.
Cooked dough.
While that is cooling it gives you ample time to make the "frosting". Ingredients: 2 cups semi-sweet chocolate chips 1/2 cup peanut butter 2 cups powdered sugar 10 TBS milk Melt the chocolate chips(they would have gone into the dough, had you been making the cookies), and set aside. With an electric mixer, mix together the peanut butter and the powdered sugar. It will form a strange granular mixture. Once they are combined, add in the melted chocolate.
Starting to add the chocolate.
After mixing the chocolate in, it will still look like a strange granular mixture... You will feel much better once you start adding the milk, so do so, a few tablespoons at a time, until it reaches a good spreading consistency. 
About to mix in the milk.
Finished frosting.
Spread mixture on top of the giant cooled cookie
Good enough to eat.
Cut the giant cookie into bars and enjoy! A tasty peanut butter bar, with slight healthy twist. Granted, the frosting probably cancels out the healthier thing, but hey, it's tasty, which is kind of the point.

Pin It!

Multi-Grain Sweet Potato Rolls

Not too long ago, I was thumbing through a cook book trying to find a good recipe for rolls (Yes, I do occasionally use other people's recipes when I cook). I came across a recipe for potato rolls, and thought "I can do better than that". Potatoes add a great texture element to bread, and I figured sweet potatoes would have a similar effect. I bet the recipe in the book I found (Cooking for Two by Debbie G. Harman, in case you are interested), was alright, but the recipe I came up with is stellar. I've made them two times now, and my very biased opinion thinks they are some of the greatest rolls ever.

Ingredients:
4 tsp yeast
3 TBS sugar
3/4 cup warm water
1 cup sweet potato puree
3/4 warm milk
1 egg (slightly beaten)
1/4 cup butter (melted)
1/4 cup vegetable oil
2 cups all purpose flour
2 cups whole wheat flour
2 cups oat flour
1 tsp salt

Preheat your oven to 350 degrees. (Man, I am getting so good at telling people to preheat!) Add the yeast and sugar to the warm water, and let it sit until it gets all frothy. We have done this before, so you should know what frothy looks like. Combine all of the wet ingredients (yeast mixture, potato puree, milk, egg, butter, and oil) together.

All the wet ingredients.

Add 1 cup of each flour to the wet ingredients, stirring, by hand, until well combined. Add the remaining flour a little at a time, until it gets too hard to stir. At this point dump the mixture out onto a floured surface, and knead in any remaining flour, adding a little more white flour if the dough seems too sticky.

Before kneading.
After you are done kneading, form the dough into a ball, place in a bowl, let the dough rise in a warm place until it is doubled in size. After it is done rising, it is time to shape it into rolls. You can do this in any manner you see fit, but let me make a suggestion.
Dump the dough out onto a floured surface, and flour the top.
Roll the dough out into a large oval.
Cut the dough into slices.
And tie slices into knots
My slices were not all even, so I used 2 on some rolls, and just one on others. Whichever way you decide to form rolls, your yield should be about 2 dozen. Put them on a sprayed cookie sheet, and let them rise for about 15 minutes. At this point stick them into your pre-heated oven and bake for 15-20 minutes until the tops start to brown.
Viola! Tasty rolls that you can feel good about! Let me give you a few hints before you actually make the rolls though. First, you don't need to buy oat flour for this recipe, all you really need is oatmeal and a blender.

Making my oat flour.
Next, my sweet potato puree was pretty thin, I blend it with water. If you use a thicker puree, you might need to add either a little more milk or a little more water. One of the time I made the recipe, I added a few tablespoons ground flax seed. The texture remains the same, but you get some Omega-3 when you eat it.  I'm really happy with this recipe, and hope other people will try it and let me know what they think.

Pin It!