Thursday, July 26, 2012

No Butter Chocolate Frosting

A few nights ago, Juliet and I had one of our not-quite-famous Jammie Jams. About once a month, I make a special treat, and let Juliet stay up a little late to watch a movie with me. It is called a Jammie Jam because we wear our Pajamas, aka Jammies. (Aren't I so clever?) I know that she is really too young to understand, but I think it will become a fun tradition, much like the Pajama Parties my family used to have. The treat I decided to make for this particular Jammie Jam was zucchini brownies (not my recipes, so you won't see it posted here). I wanted to make frosting, but I didn't want to completely destroy the healthy zucchini thing with a bunch of butter. I opted to make a butter free frosting, and managed to get this rich chocolatey beauty.

Ingredients:

1 oz cream cheese, softened (I recommend Nufchatel, it has 1/3 less fat than cream cheese)
2 TBS sour cream
2 TBS low-fat vanilla yogurt
1/2 cup cocoa
2 cups powdered sugar
1 tsp vanilla

First off, you are probably thinking I'm a totally weirdo for having cream cheese, sour cream and yogurt in this recipe, but I'm not. They each bring something to the party that I find appealing.

Butter Replacement Ingredients
Cream cheese acts as a good stabilizer. Sour cream or yogurt alone would yield a runny frosting. I love the texture and flavor of sour cream, you could use plain yogurt, but it won't produce quite the same results. Your frosting won't be as creamy. Yogurt is great for several reasons, it tastes good, and it's good for you. The bacteria in yogurt is good for your digestion. A product that is good for your digestion in frosting? Heck yes!

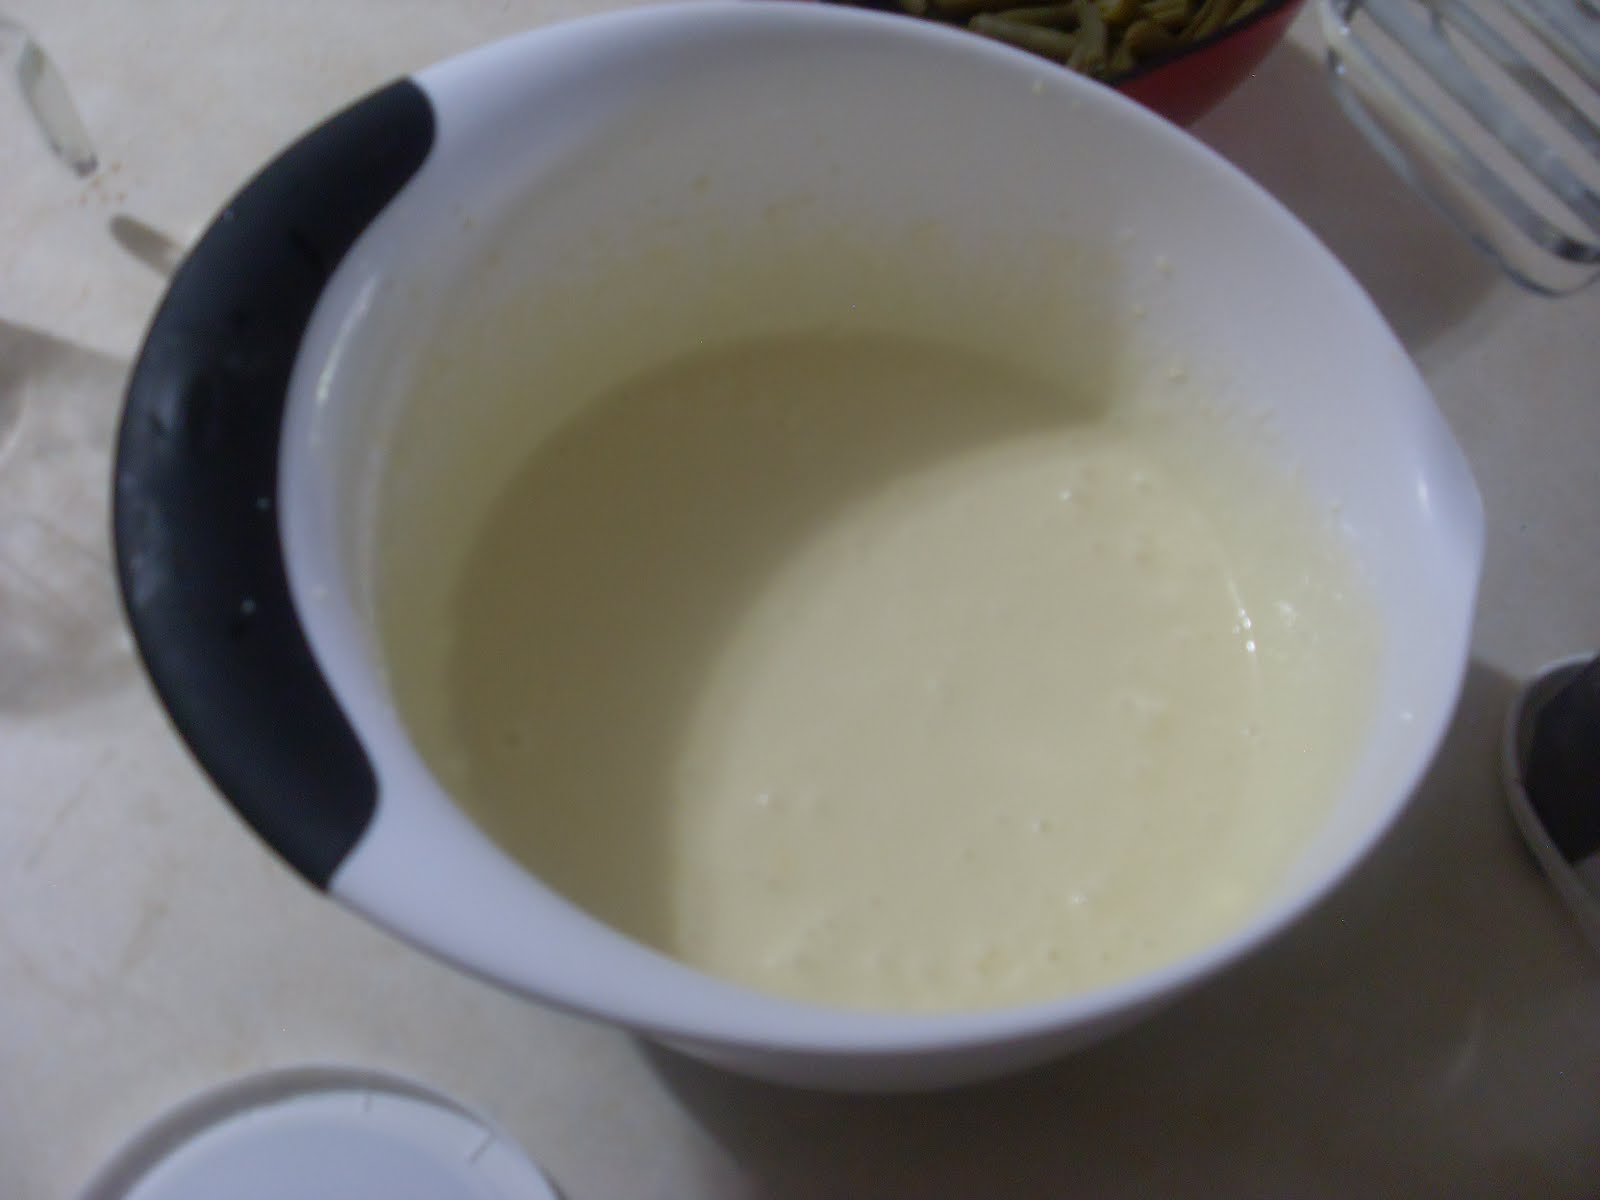
Now that you understand a bit of the why, let's get going with the how.  Combine the cream cheese, sour cream, and yogurt together until nice and smooth. Mix in the cocoa, and then add the powdered sugar, one cup at a time. Mix the ingredients until you have reached a spreadable consistency, adding more powdered sugar if necessary. Add your vanilla and get ready to frost.

Adding Vanilla, to my Kitchenaid bowl!
Ready to Spread

I used my frosting on brownies, as you already know. It could be used in several applications. I would recommend it for brownies, cookies, and the middle layer of cakes. You could use it for an outside cake layer, but it is not going to have the decorative properties that many people are looking for.


You may notice that not all of the brownies got frosted. I gave Juliet unfrosted brownies. This was not because I'm against her eating frosting, it was because she makes big enough messes with dry food, and we were eating them in front of the TV.

Also, some of you may be interested to know that while creating this recipe, I wrote it down with a crayon. Sometimes, you just work with what you have.


I hope you enjoy this rich, tasty, no butter frosting.


Pin It!

BBQ Chicken Pasta

A few weeks ago, my sister and her family took a mini vacation to their family cabin for a few days. While they were gone, Daniel, Juliet and I house sat, and took care of their extremely low maintenance dog. On one of the first days, before Daniel and I had grocery shopping, I needed to make lunch. The ingredients available to me were pretty sparse, since they had taken most of their food with them to the cabin. While looking through what was accessible, I came up with an idea: BBQ Chicken Pasta. It was just crazy enough to work, that, or be extremely disgusting. Lucky for me, it was a success. I'm pretty sure this will become a staple meal our house.

Ingredients:
3/4 cup BBQ sauce, separated (I very biased-ly think you should use this one).
1 large chicken breast
2 TBS flour
2 cups (skim) milk
1/4 cup Parmesan cheese
1 tsp parsley
1 tsp garlic salt
1/2 tsp onion powder
1/4 tsp pepper
Approximately 13 oz (uncooked weight) pasta of your choice. I use whole wheat penne.

Preheat your oven to 350 degrees. Place your chicken breast in a small pan and pour 1/4 cup of the BBQ sauce over it.


Cook the chicken for 35 minutes. While the chicken is cooking, you can make your pasta and your sauce. Just make the pasta according to the box directions. I recommend Al-Dente, but you can cook to your desired softness. In order to make your sauce, place the remaining BBQ sauce and the flour in a medium sauce pan.


Whisk the BBQ sauce and flour together, while cooking on medium heat, until it gets slightly bubbly.


One it gets to this stage, whisk in the milk.


Continue to stir and cook until the mixture darkens in color and starts to thicken.


Add the remaining ingredients to the sauce and boil until you reach your desired sauce consistency.


Remove the sauce from heat and set aside. Cut your cooked (and slightly cooled) chicken into bite sized pieces and get ready to assemble.


 You can either serve individually, or family style. Family style is easier, but individually is a bit more visually appealing. Either way, the order should be pasta first, followed by sauce, and then topped with chicken. You may also add Parmesan cheese to the top if you wish.

Individual

Family Style
I realize this isn't the prettiest looking pasta ever, but the taste is seriously awesome. It isn't super great looking because everything is pretty much the same color. If you want some color contrast, you can use white pasta, and toss the chicken in BBQ sauce after you have cooked it instead of before. It will look a lot better, but won't have as much flavor. I'm letting you decide which one is more important to you. I'm pretty vain, but I chose the flavor.

Pin It!

Red Velvet Cheesecake Bars

For the 4th of July I wanted to make a Red, White and Blue dessert. I thought for awhile and decided on cheesecake bars. What is more American than cheesecake? Other than apple pie, which is a bit difficult to make into festive colors. When I first made the recipe, it turned out a Red, White and Green...Merry Christmas! When I made the bars a second time (I usually make recipes several times before I post them, to make sure they are awesome), I opted to simply make them red velvet and avoid any food dye mishaps. These bars feature a cake layer, and a cheesecake layer, which makes them pretty unique. Most cheesecake bars just have a crust, ha, I spit on your crust. I'm kidding, I like crust too, but this is a fun twist.

Ingredients:
For the Cake Layer:
2 large eggs
2 cups all purpose flour
1/4 cup shortening (or oil, or butter)
3/4 cup milk
1/4 cup sour cream
3 tsp baking powder
1 tsp salt
1 tsp vanilla
1/2 cup cocoa
red food dye (if desired)

For the Cheesecake Layer:
16 oz cream cheese (softened)
1/2 cup milk
2 egg yolks
1/4 cup sour cream
1 cup sugar
1 tsp vanilla

We are going to start by making the cake layer. Pre-heat your oven to 350 degrees. Cakes are great, because you can pretty much just dump and mix and things turn out pretty good. Mix all the cake layer ingredients together, except the red food dye, together until every is well combined. At this point, you will have chocolate cake, if you want red velvet, add your food dye now. How much you add is a preference, though I do wish I would have added more.

Adding Food Dye
You may (or may not) have noticed something awesome in that picture. Do you see what my batter was mixed in? That's right, my new Kitchenaid Stand Mixer! I got it as a birthday present from some very awesome people (Thank You, Thank You, Thank You!). It will likely be featured in all baking recipes from now on, and probably some non-baking recipes too. I'm totally obsessed. I've even made up songs about it. I might be a mental case over it, but at least I'm a happy mental case.

After you have mixed in the amount of dye you feel suits you, spread the batter into a greased cookie sheet. You know, one of those big half sheet pan kinds.


 Bake in your preheated oven for 10 minutes. We are not looking to have the cake completely done here, we just want it solidified so that we can add the next layer.


While that is baking, you can make up your cheesecake layer. Remember how cakes can usually just be dumped and mixed? Well, cheesecake is pretty much the same way. Mix all the ingredients for the cheesecake layer together until they are nice and smooth. You don't want little cream cheese clumps, so make sure that stuff is really soft before you get going. I've noticed that Philadelphia Cream Cheese usually mixes smoother. I'm not sure why. The mixture will be fairly liquid-y, don't worry about it.


Spread on the cheesecake mix over-top the the baked cake layer.

Insert Photo 12598

Put all bars bake into the oven and bake for 15-20 min


Once you are done baking, refrigerate for at least one hour. When are a ready to serve, simply cut into squares and enjoy.


When making these, I do not recommend using reduced fat well, anything. These are not one of my healthy desserts. These are one of my full fat, special occasion, splurge desserts. It's totally fine to splurge every now and then, and with these, you will enjoy every sinful bite.


Pin It!